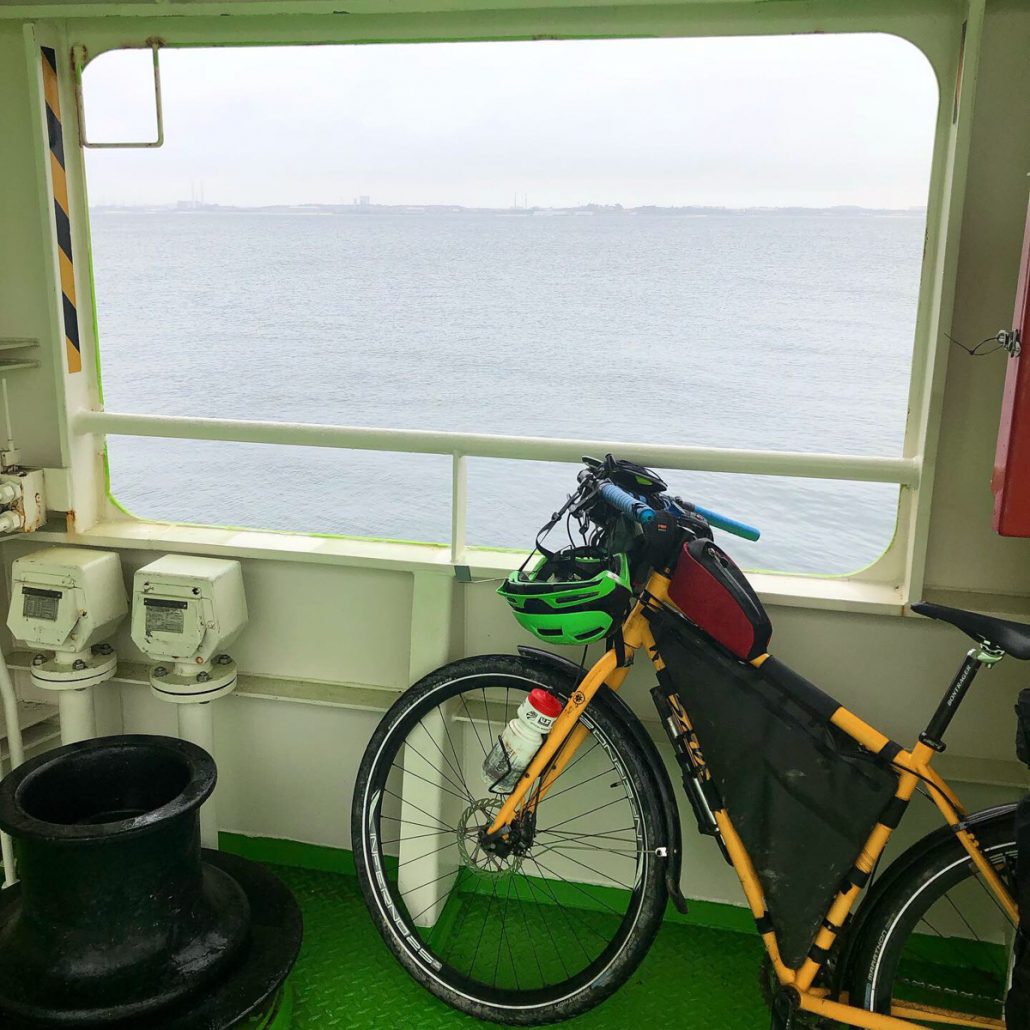
Updating My Salsa Fargo Build, Bikepacking Style
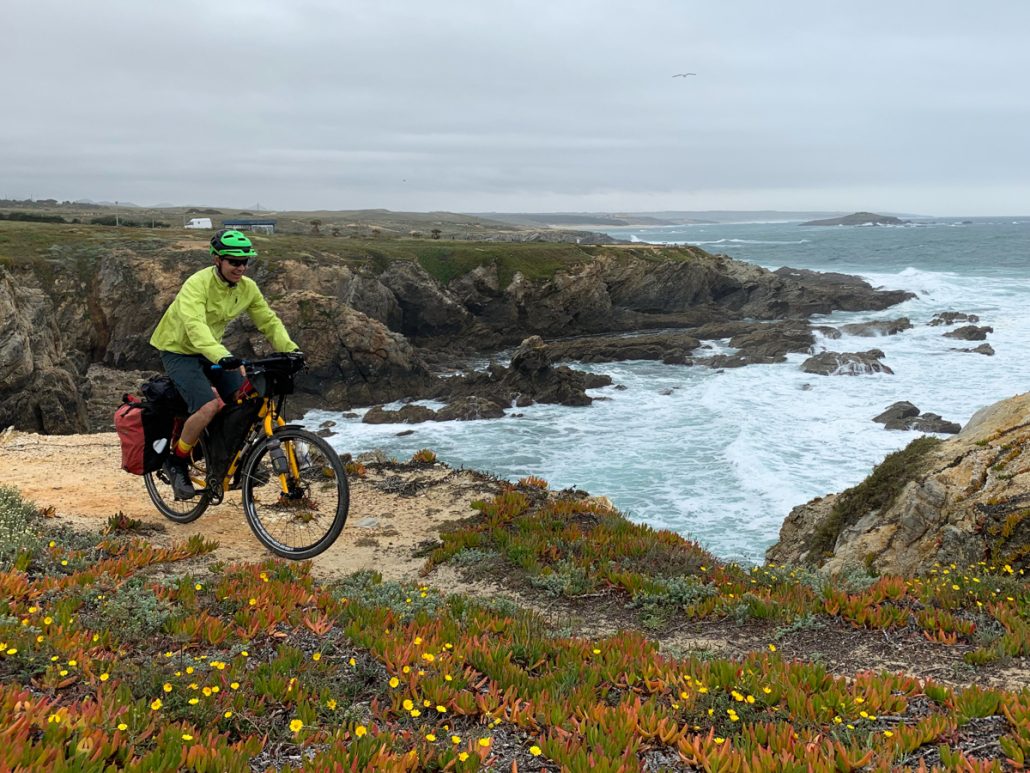
I’ve ridden my Salsa Fargo 10,000 miles over hundreds of hours across the U.S. and Europe. I STILL love it. To make it even better for our April/May bike tour in Spain and Portugal, I added a few hacks from the bikepacking world.
Update July 2021: I’ve since used the same setup – with a Revelate handlebar roll bag for sleeping gear – for gravel bikepacking on the Oregon Outback. Works great!
Since over 3,000 people per month still read my post about the Salso Fargo, I figured a quick update will help some folks out. In that initial post, I talked about how comfortable the Salsa Fargo is. That hasn’t changed! The Fargo isn’t racy, but hot diggity is it a solid long-distance bike for gravel and pavement. I’d still buy a Fargo versus a Salsa Vaya for the versatility and riding position.
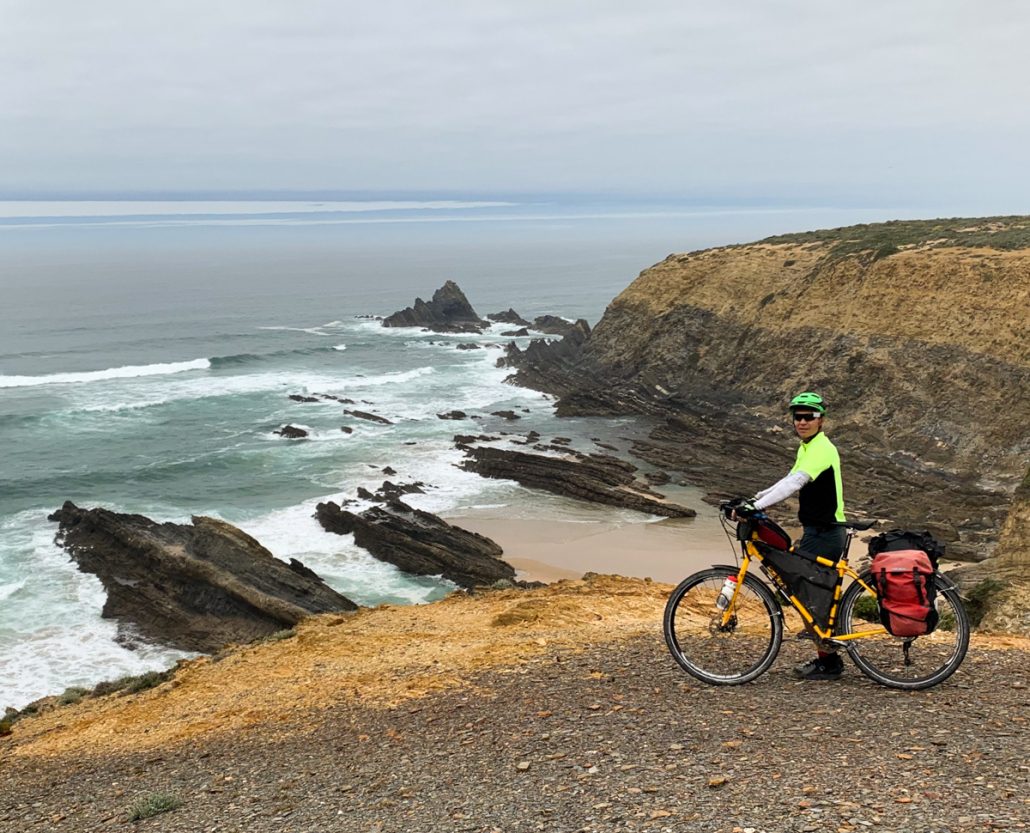
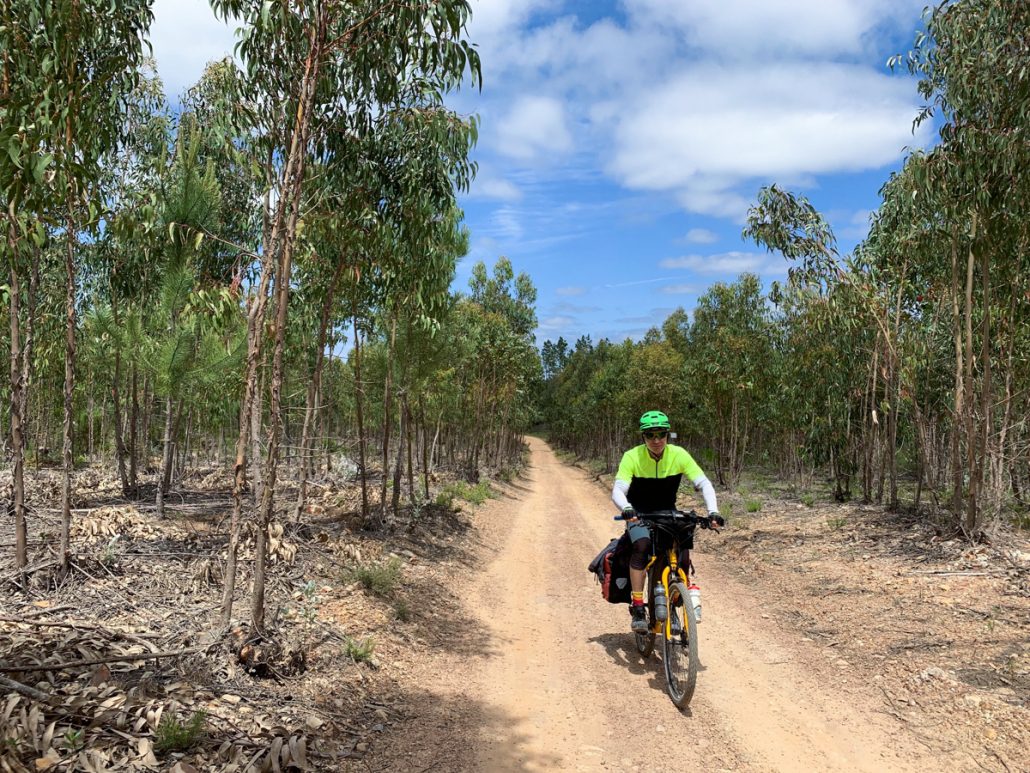
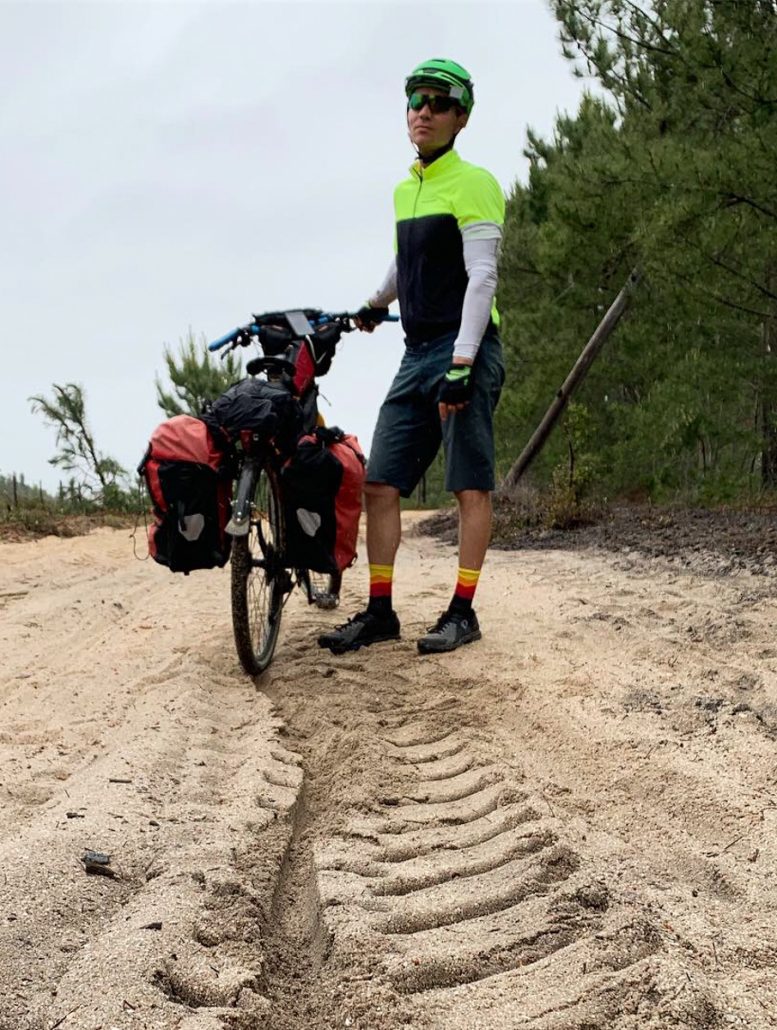
During our tour from Valencia, Spain to Porto, Portugal, we logged many miles on gravel and dirt roads. Other than a couple days where bigger tires or front suspension might have saved some wrist damage, the bike worked great! Looking back, lower tire pressure probably would have helped a lot.
Things I Still Like About the Salsa Fargo:
- Position on the bike – so comfortable for all-day pedaling
- Mountain gearing (2×10, 24/42, 11-36) – I can charge (ok, grunt) up 16% grade farm roads.
- Tons of braise-ons for racks, fenders, and water bottles
- Steel is real! No worries about carbon breaking under a loaded bike.
- Wide variety of tire sizes – Newer models accommodate even bigger tires and feature the Firestarter fork, which people rave about.
Recent Upgrades I’m Digging
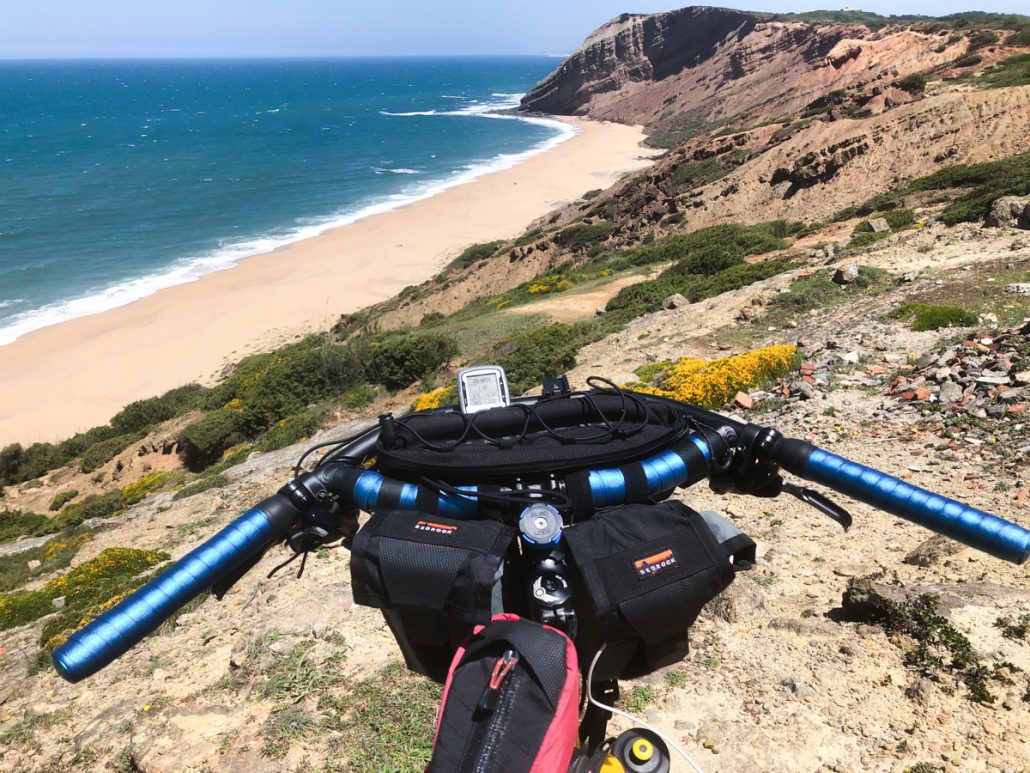
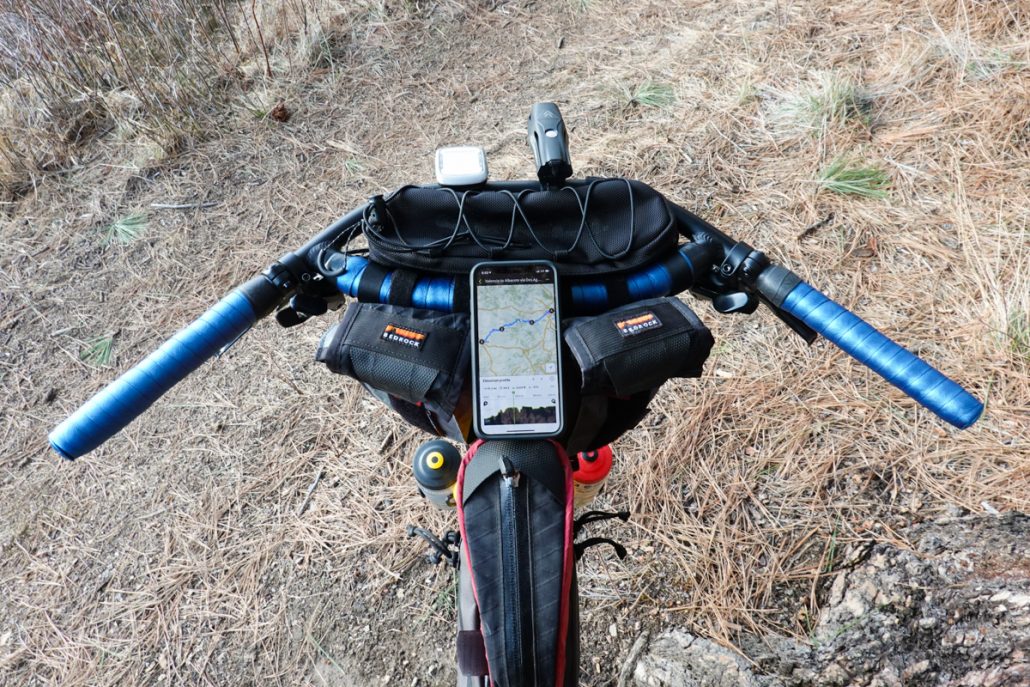
New Handle Bars (Jones H-Loop Bars)
Call me a trend follower, but Jones Bars are HAWT in the bikepacking world. I hemmed and hawed and finally ordered some. So glad I did.
It took a little work in my garage and cost ($150) for new brakes, mtb shifters, and recabling. Whatever – I’m SO happy with the change. So nice when stuff works out. Now my Salsa Fargo looks like a REAL bikepacking bike!
I loved them so much that I bought a pair for Chelsea’s new Co-Motion Pangea too! (For both pairs, I bought the SG Loop bars vs lighter aluminum or carbon bars.)

Three Major Things I Like About Jones Bars:
Comfortable body position
Frequent mountain biking has heavily biased me against drop bars. Even relative to the Fargo’s relaxed Woodchipper bars, the Jones Bars are more comfortable and upright.
It’s not like a beach cruiser waddling along a boardwalk either. I can still put down power. The bars are swept back at 45 degrees and I mounted them at the recommended 17 degree tilt. The end result puts less pressure on my hands and feels natural.
MTB shifters and brakes
On bumpy terrain (or in general), I prefer my hands wrapped solidly around handlebars, not resting on STI/brifter hoods. I’m loving the trigger shifters coupled with my SRAM 2×10 setup: fast, easy to adjust, and cheap. Brifter is a dumb word anyway.
More mounting space for gear
The bar design creates space for lights, GPS, a bell, a framed picture of my mom, and a diorama of my favorite Oregon wildlife. (Kidding. I don’t have pictures on my bike. Sorry, mom.)
New Saddle (Brooks Cambium)
For past tours, I used a Selle Anatomica. It worked fine, but I never looooved it. However, for commuting around Bend sans chamois, the slot in the saddle was uncomfortable (no further details).
To address that, I bought a Brooks Cambium saddle. Not only is it comfortable, it’s synthetic, i.e. no need to worry about rain and it aligns with my vegan values. BOOM.
Dig this post and want more like it? Check out my free 2x/month newsletter for bikepacking trip reports, life hacks, and more..
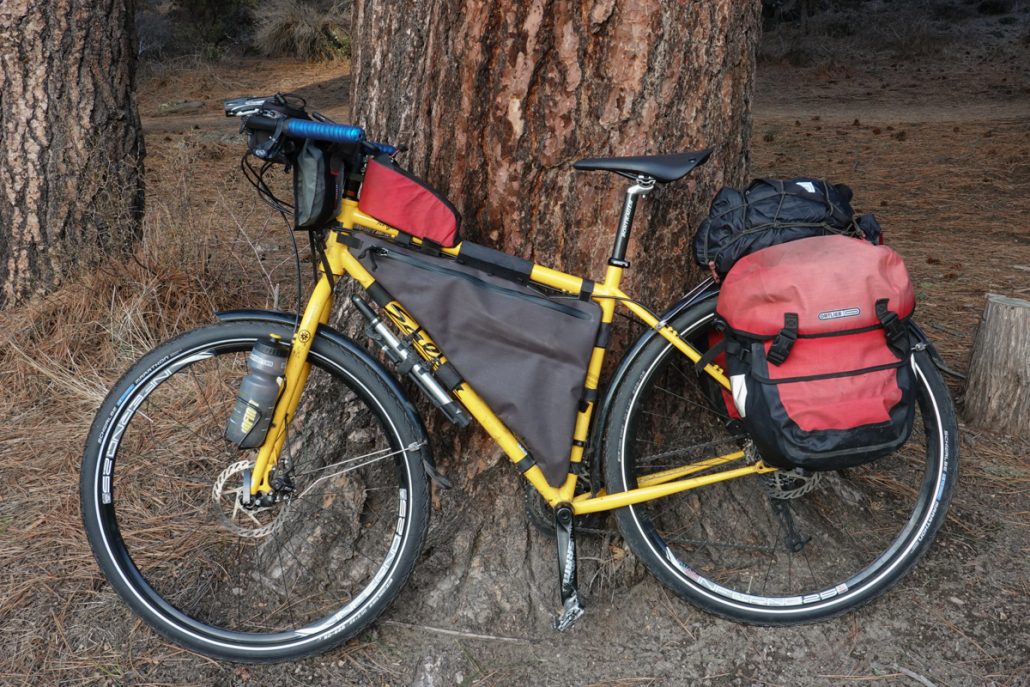
Bikepacking Bags
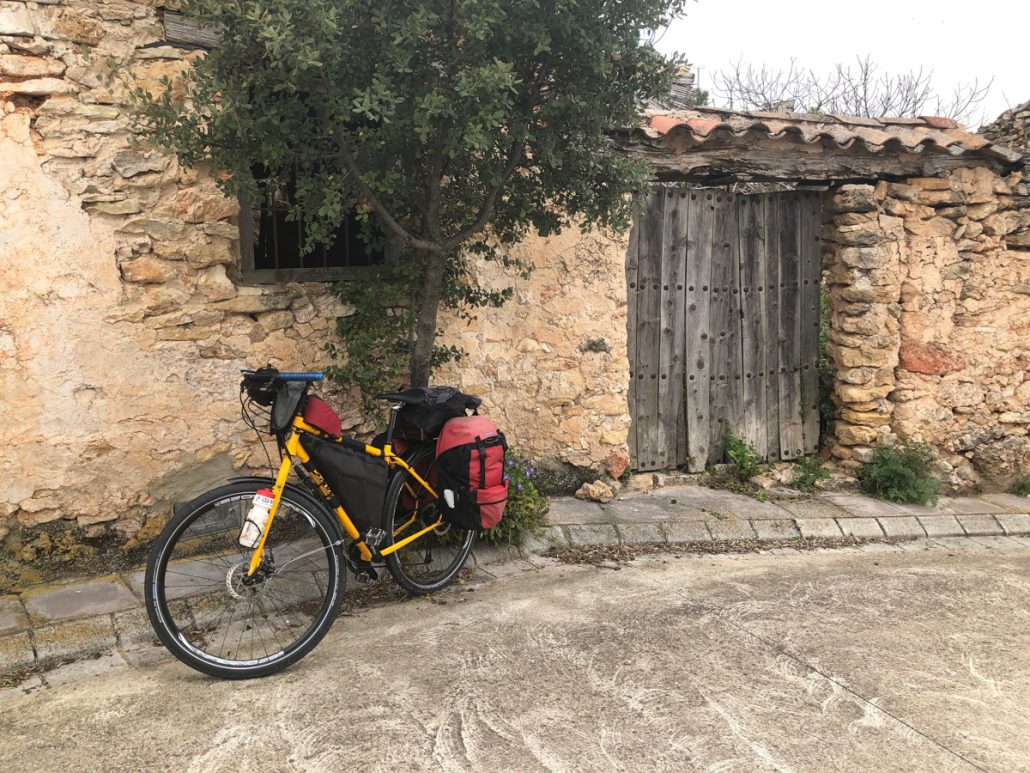
I added the following to my setup:
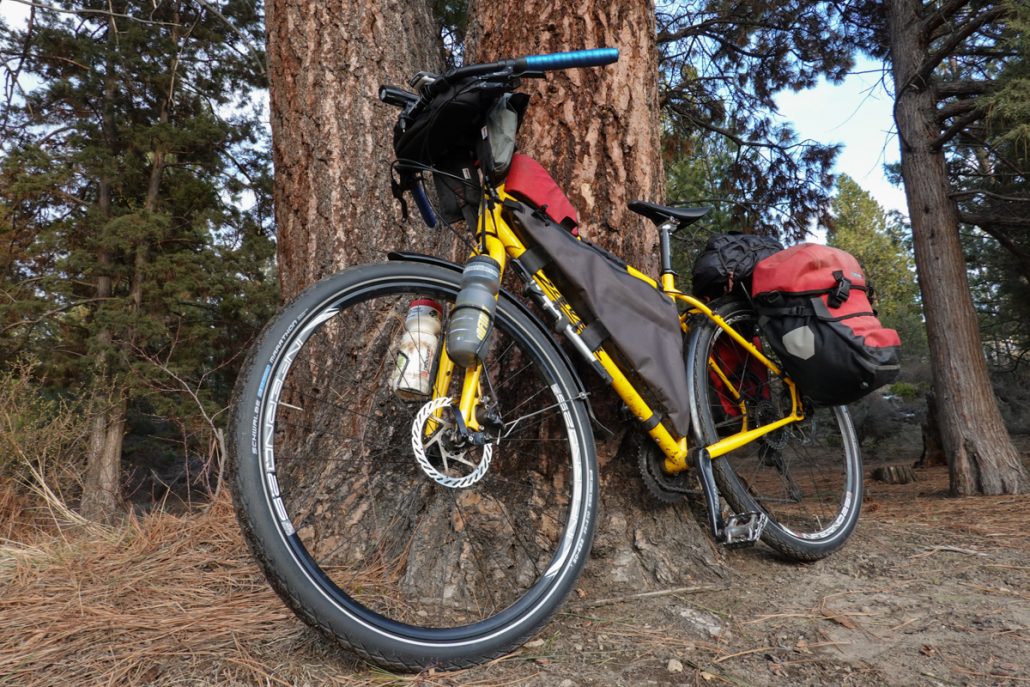
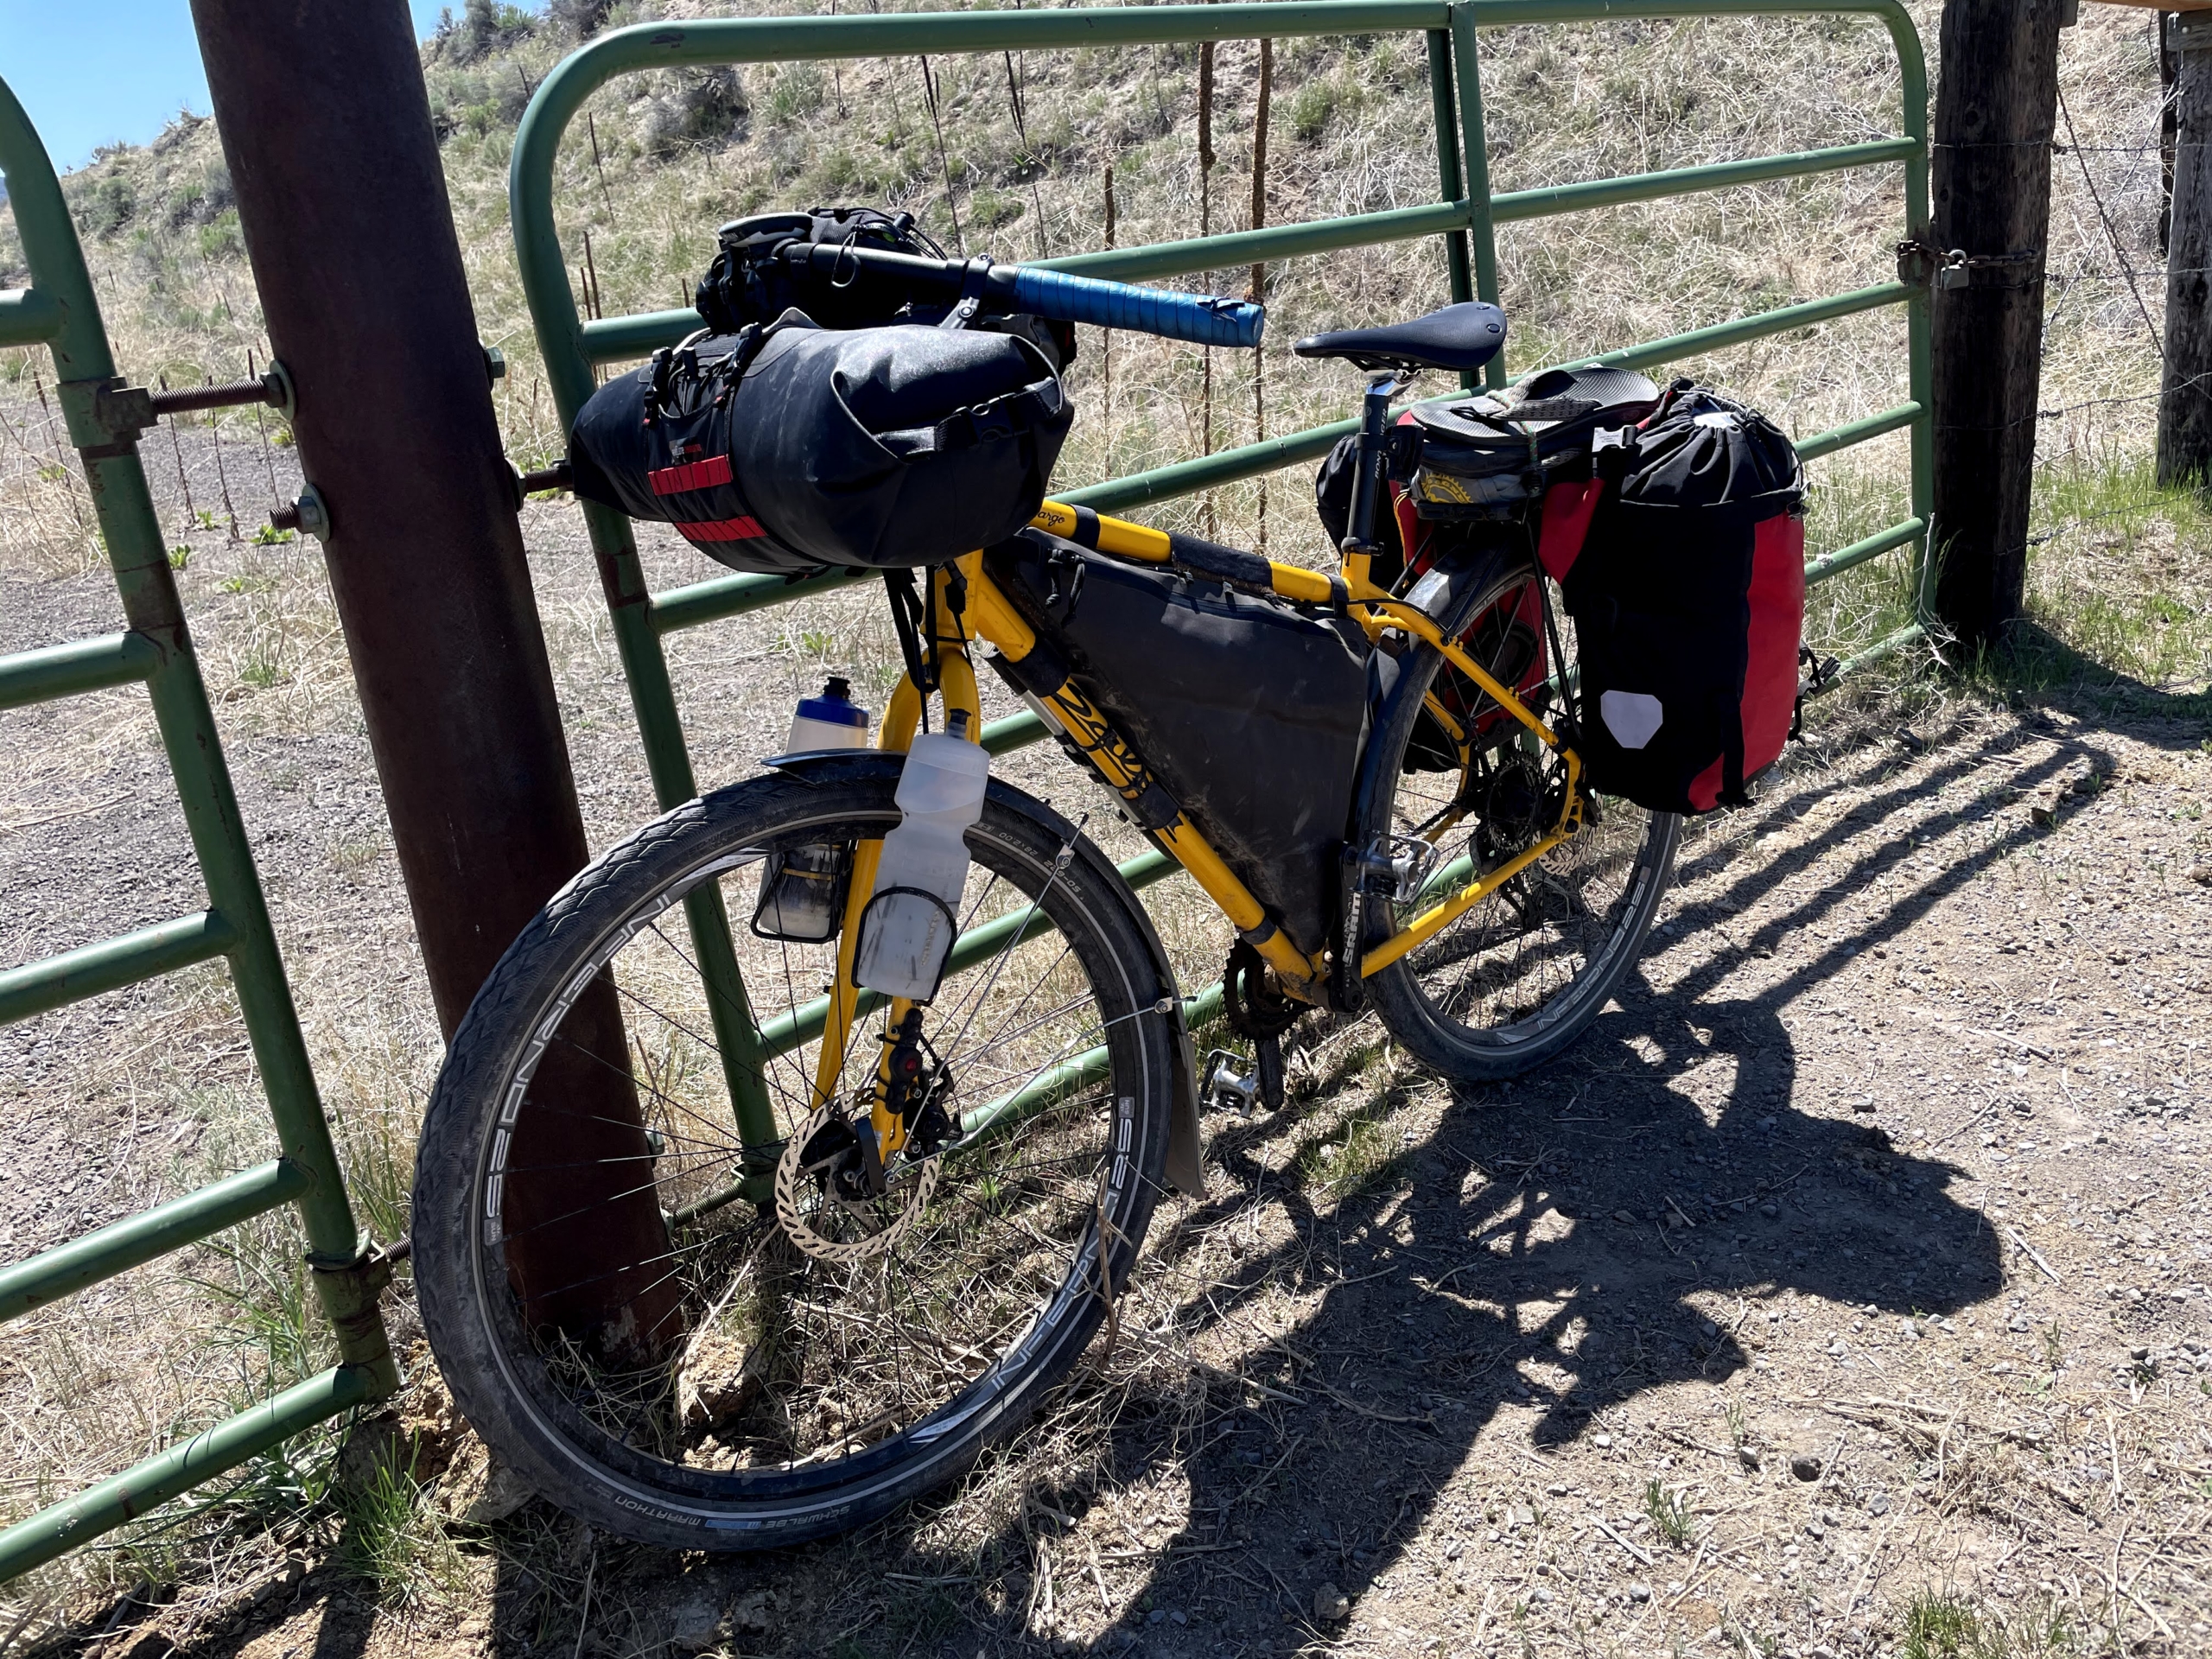
Frame Bag (Salsa EXP HT)
Designed for the Fargo’s geometry and perfect for infrequently used gear (spare tubes, bike repair kit, med kit, front light, and rain gear). As a bonus, I don’t have to haul it around when I take my panniers off the bike. A must have in my opinion!
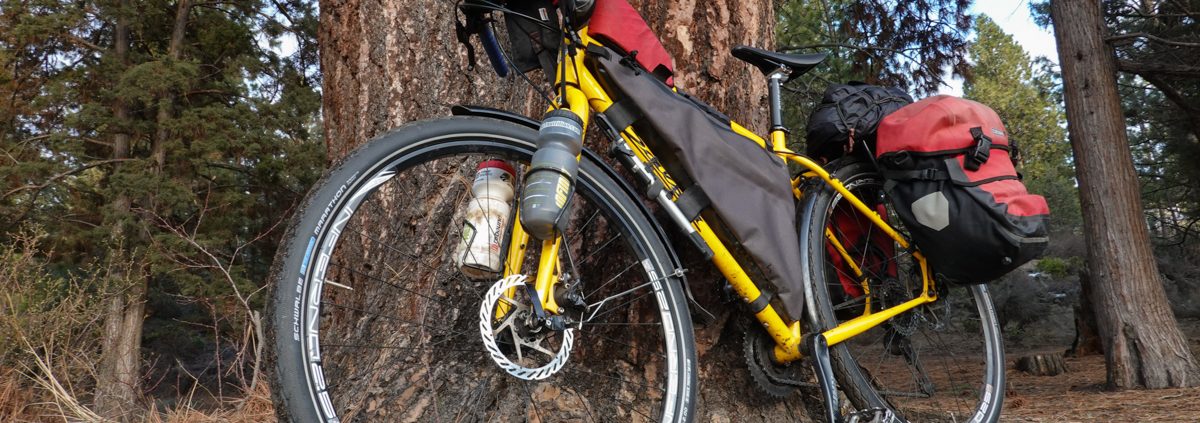
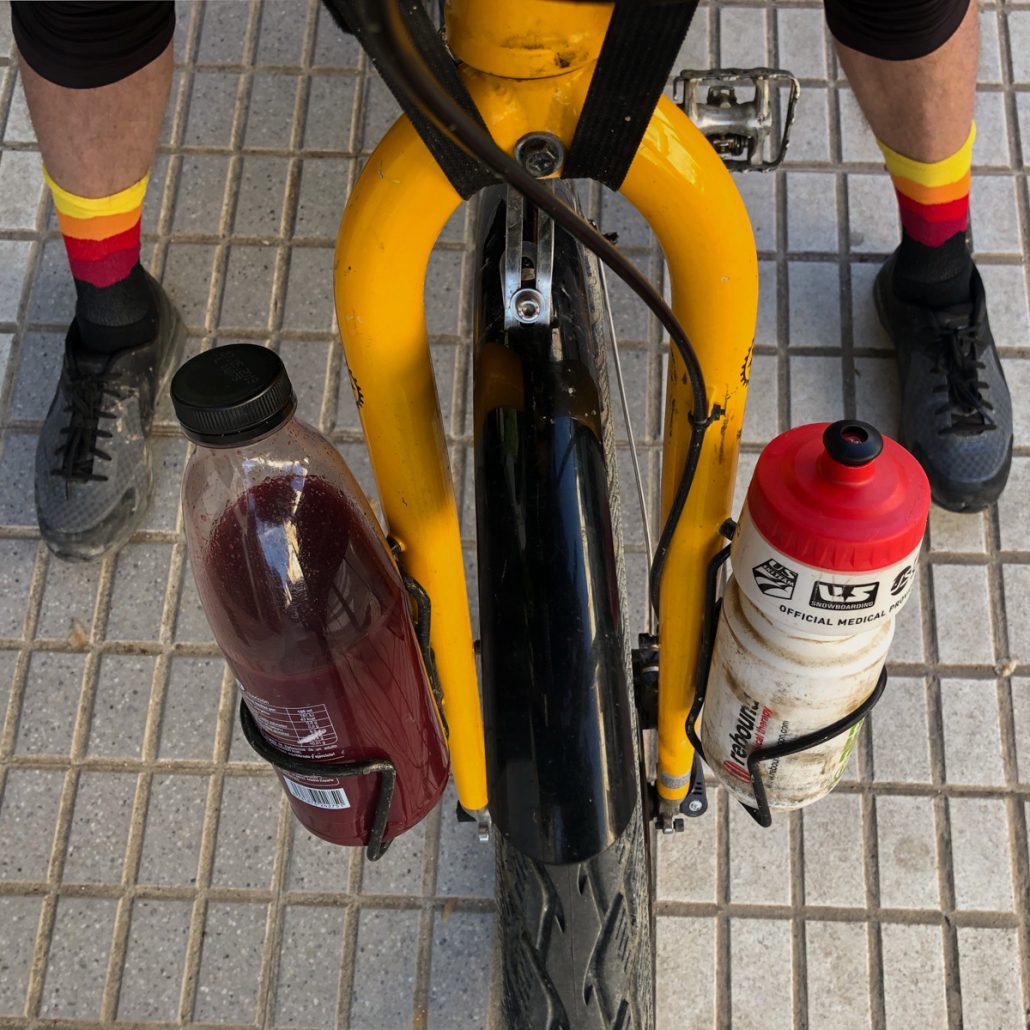
Note: Since the frame bag covers the bottle mounts, I moved those to the front fork. I considered using the Salsa Anything Cages, but didn’t need the capacity for this trip.
Handlebar bag (Surly Personal Affects)
Instead of the cavernous Ortlieb I’ve used before, I picked up this sweet number. It mounts neatly in the loop of the Jones Bars and holds a small camera, snacks and other assorted stuff. The elastic webbing on top is perfect for holding a light jacket in on/off weather.
Note: Jones makes a bag specific for the bars. It screams JONES in bright white lettering, costs 1.5x more, and lacks the jacket-holding webbing, so I opted for the Surly bag.
Bedrock Feed Bags (the Tapeats)
Mounted on either side of the stem and perfect for for carrying quick-access snacks, a small charger pack for my phone, a bottle of OJ or coconut water, or stashing any small item of gear.
Top-Tube Bag (Dakota Tank)
Perfect for frequently accessed stuff like sunscreen, chamois butter, wallet, and so on. Easy access! Plus it’s named the Dakota Tank, so, yeah, had to have it.
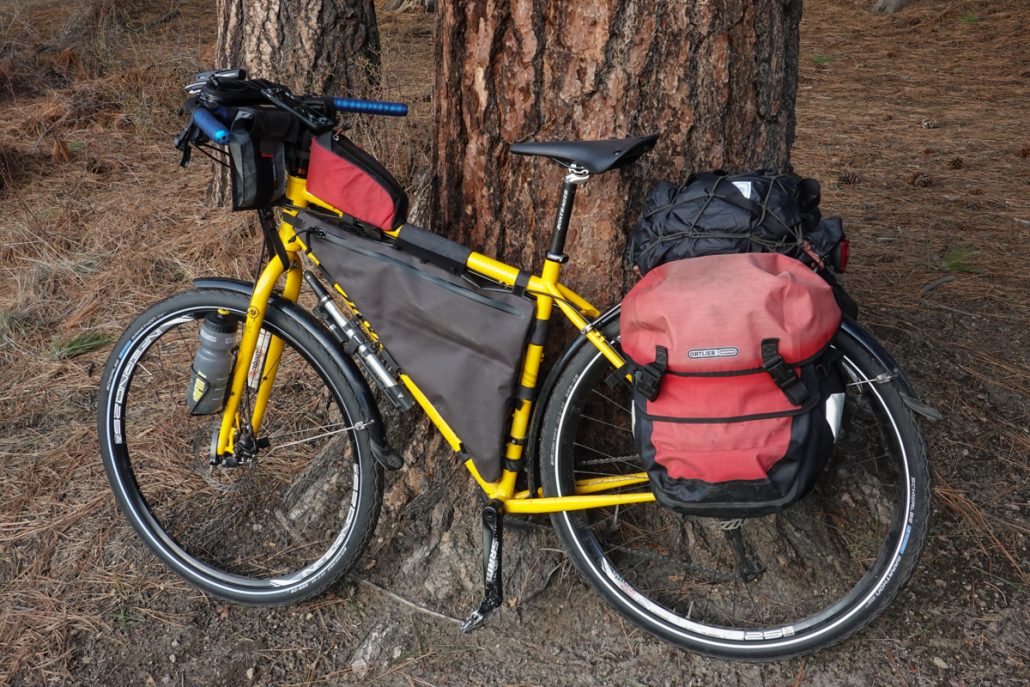
Panniers (Ortlieb Backrollers)
Faded and dirty, these babies were with us for both big tours we’ve done. For the U.S., I had two rear and two smaller front panniers; for Europe in 2015, I only had the two rear. Panniers are great, but on bumpy dirt roads, they flap around like pissed off seagulls.
Setting up my Fargo bikepacking-style makes sense and I considered using just a seatpost bag. Buuuut I work remotely on these trips and need a bag big enough for a laptop and so I rocked panniers again, though not as loaded down. As a plus, I can fit a solid chunk of Chelsea’s gear to even out our pace a bit when we’re riding. I can still take her on the hills 🙂
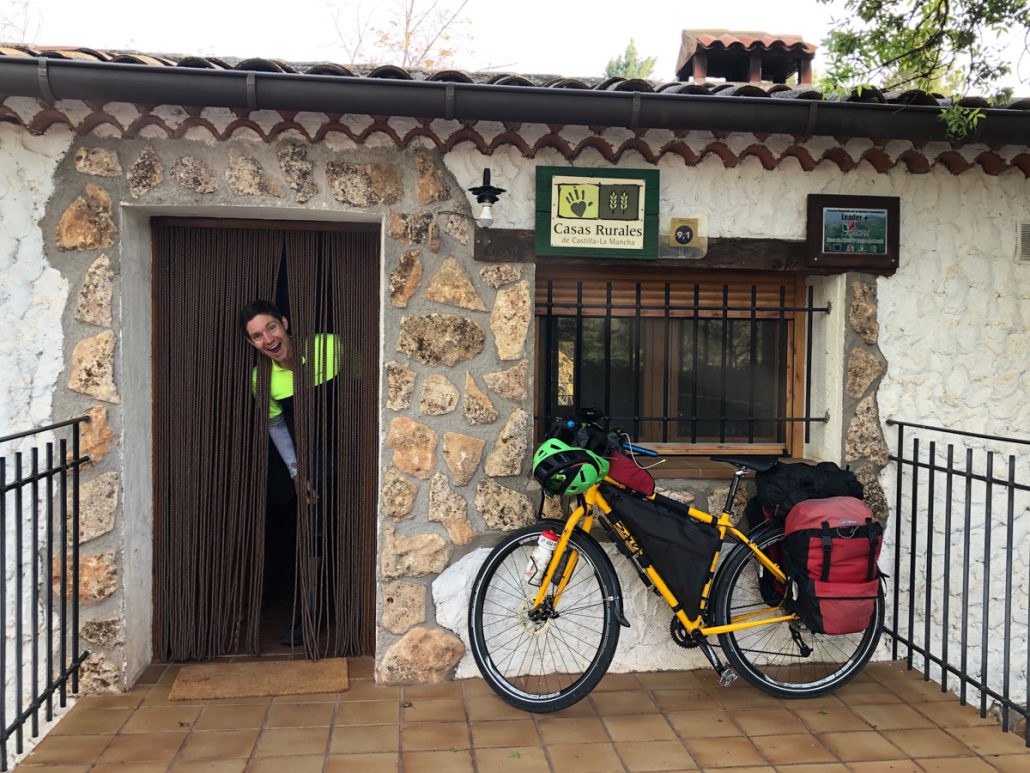
Small duffel bag (16L Matador duffel)
We love this hack. Rather than loading up panniers with food, which creates an unbalanced load (and probably scoliosis), we put food in a duffel bag on top of the rear rack. When we hit a lunch spot or grocery store for a refill, we grab the duffel and presto, we’ve got all our food. The Matador is light and waterproof, but not super durable.
Bigger Tires (50mm Schwalbe Marathons)
I’ve run a variety of tire sizes on the Fargo. I considered going with some 2.2” mtb tires, but decided on on 50mm (2”) Schwalbe Marathons (with tubes). Yeah yeah, they’re heavy, but changing flats sucks and we aren’t throwing down intervals on loaded bikes! Rotational inertia just makes you stronger, ya weight weenie. ZERO flats during this last trip and we rode some rough terrain. Booyah.
iPhone Mount on Bike (Quadlock Kit)
I’ve mastered the dangerous art of looking at phone maps while riding my bike. It’s easy on quiet roads and rather stupid in cities. As a (small) sign that I’m maturing, I bought a Quadlock case for my iPhone plus a mounting bracket for my bike stem.
The phone mounts in both portrait and landscape mode and the release sleeve on the bracket is bomber and ingenious. The matching case is slim, so I can leave it on the phone long-term. SO easy to navigate using Komoot with both hands on the bars. Highly recommended/mandatory!
There you have it. I think this iteration of my gravel/road touring setup is more comfortable for long days, robust on rough roads, better balanced, and provides a safer, easily accessed front cockpit relative to my past approach. I loved it for this recent tour!
Want to read about our trip? Here’s the first ten days from Valencia to Granada and then tales from Granada to Porto.